
  : Welcome to mylifeispurrfect! My name is Sharon. I've been blogging since 2004 but stopped for a while and now I'm back, PERMANENTLY! My life evolves around people and things I love, and I hope you can be part of it too :) : Welcome to mylifeispurrfect! My name is Sharon. I've been blogging since 2004 but stopped for a while and now I'm back, PERMANENTLY! My life evolves around people and things I love, and I hope you can be part of it too :)For guest invites, blog advertising, endorsements, sponsorships etc.. Email: sharon.arissa.x@gmail.com + follow | Email | instagram | facebook | Some Events/Work/Pageants:
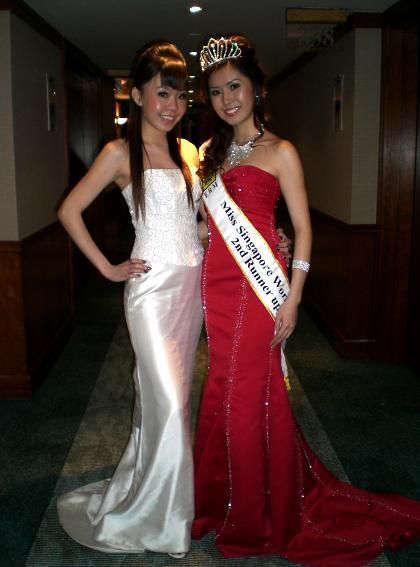
Finalist for Miss Singapore World 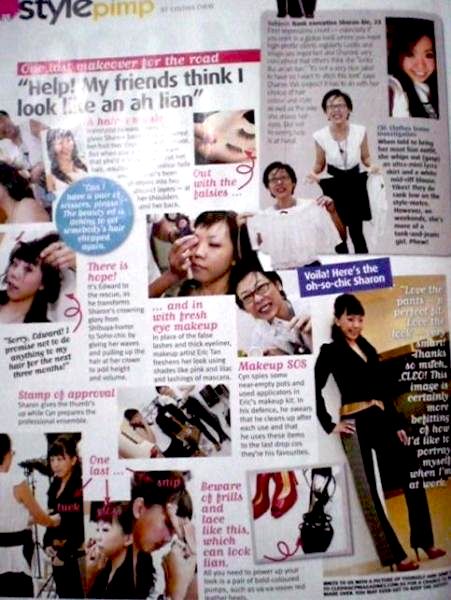
Model for CLEO Magazine 
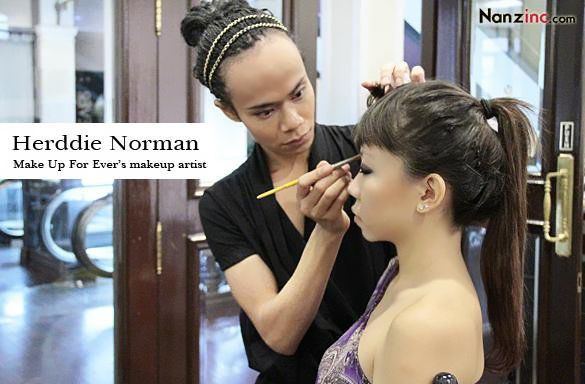
Model for Nanz Chong Nanzinc.com 
Urban's (Straits Times) Project Fashionista 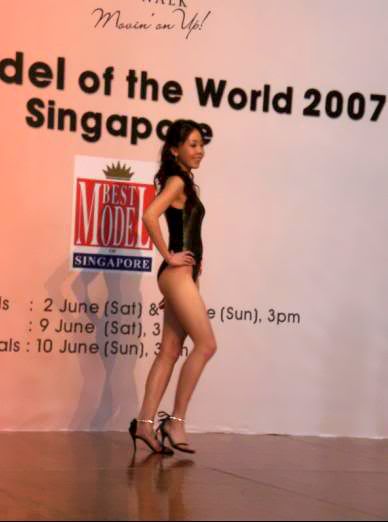


Online Boutiques:
  Enter CODE ZBAP9f8 to get 15% off!
Applicable for 1st time customers only! Visitors:
Nuffnang:
recent update :
|
OPI D.I.Y. Manicure
written on 13 Oct 2012 @ Saturday, October 13, 2012 ✈
Woo! It's Saturday! What are you all doing today? I had some time to study for my exams which is on coming Monday and I needed to take a break, so I took some time to DIY my nails. So, I'm gonna show you what are the nail polishes I use and 3D nail arts. I'm a huge fan of OPI. They have the best non-chip technology. Of course, this is based on normal nail polish and not those gelish or gel nails. I love getting these minis as I prefer to mix some colours. The photo can't really tell, but one of the red polish has some glitters in it. I got this Vintage Minnie Minis from OPI. Pink and red are my favourites for nails. Plus, they have a rapid dry top coat which is super good. It really dries pretty fast.
Before I start to paint my nails, the first step that I do is to put on this nail protector fluid. I got this from one of the nail salons in Nex. Previously I had a nail package with them but I didn't exactly like going to nail salons mainly because the staffs need to rush for the next customer and actually, they are not that skilled.
I prefer those home nail salons where the manicurist takes her time and make sure every detail is done well for you. Sometimes it may take much longer no doubt, but I rather have pretty nails than a slipshod work done on it.
You see the blue fluid? That's the protector. The one beside is a base coat from Face Shop if I'm not wrong.
Step 1: Paint your nail with the protector blue fluid. It helps for brittle nails like mine.
Step 2: Paint your base coat over the protector fluid
Step 3: Start paining the nail colour that you want!
Step 4: Apply the top coat before putting your nail art.
Step 5: Place your 3D nail art where you want, and finish off with top coat again.
Step 6: Remove any smudges if you can. If not, wait till you shower and you can try to scrape them out. Teehee, that's what I do. And viola, you have a set of pretty nails!
A rather simple set to do. Basically, the nailart you only need to paste them on. For me, I didn't use any glue because glue can be quite damaging to the nails. So pros and cons. Cons would be if you don't take care of your nails, the 3D nailart can drop rather easily. You can choose to use glue or not to paste the nail art.
Have fun doing your own nails!
By the way, do follow me on my instagram @sharontitania k! Xoxo, Sharon X
Labels: disney, DIY, minis, minnie, nail art, nails, OPI, pink, polish, protector, red, vintage 0 comment[s] | back to top |
